Buttercream Frosting
6 cups powdered sugar
4 sticks (2 cups) room temperature butter
4 tsp clear vanilla extract
4 tbsp heavy whipping cream
food coloring as needed.
Cream together butter and sugar. Beat for about 3 minutes until light and fluffy. Add vanilla, beat for 1 minute. Add heavy whipping cream, beat for 3 minutes, until fluffy.
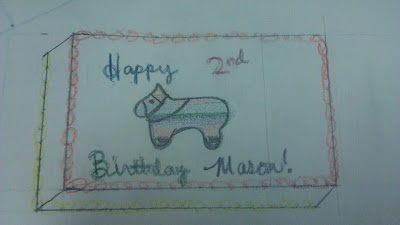
First thing you need is to draw or print out your designs. You have to use a mirrored image of what you want on the cake because you flip it over.
Next cut out wax paper squares to fit over the image allowing 1-1.5 inches around image to handle the paper and apply tape.
Find some kind of flat surface like a cutting board, sheet pan, or in my case, 8" rounds, that fit into your freezer. I like that the pans are metal and conduct heat so they stay cooler longer while you pipe on them. I put my pans in the freezer first so when I start piping it doesn't move. Tape the image to the flat surface then tape the wax paper over it.
So this part I missed, but you want to start with what is in the foreground of the image and pipe it first. Next do the outlines and fill in with frosting. Use a toothpick to maneuver the frosting into any tight corners. Go around the perimeter with the same frosting color as the background of your cake (prevents color bleeds). Then apply another layer of just the back ground color over the entire image. Place it in the freezer for 5 minutes. Pull it out and use a Viva paper towel (it doesn't have texture or inks) to smooth it level. Just place the paper towel over the frosting and smooth gently with your hand or a smoothing tool. Place back in freezer for 15-20 minutes until hard.
After the frosting hardens, flip the image onto the cake. If it is pliable, put it back in the freezer or else it won't stay on the cake and will stick to the paper. Slowly peel off the wax paper.
At this point you can pipe any embellishments, add writing and pipe borders.


